The Horseback Riding Helmet Guide
How to Choose and Fit a Riding Helmet
Helmets can reduce the risk of horse-related fatal head injuries by 70 – 80%1. This highlights the importance of a properly fitting riding helmet for all equestrian activities. Whether you’re looking to replace your existing helmet or it’s your first time buying a helmet, we’ll walk you through measuring, sizing, and fitting your riding helmet.
Safety First!
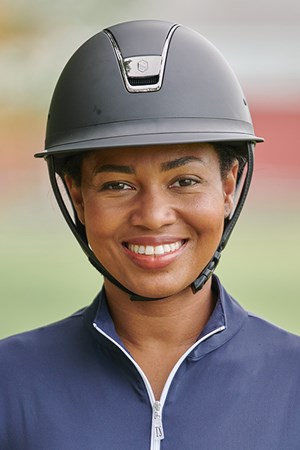
With many brands and styles to choose from, the best riding helmet is one that fits properly and is certified to meet the current safety standards created by the ASTM, tested by the SEI. When evaluating helmets, look for helmets that are ASTM (American Society for Testing and Materials) /SEI (Safety Equipment Institute) certified.
While there are helmets with dual certifications for the US and European standards, for most riders, a single certification is all that is needed to demonstrate a helmet’s safety. Additionally, looking for specific safety features, like crash replacement programs, dial-fit, and MIPS technology can help you narrow your search for the right helmet. Learn more about the protection for rotational falls provided by MIPS helmets by reading below.
When Do I Need to Replace My Current Riding Helmet?
Do riding helmets expire? A general rule of thumb for replacing your helmet is if:
- You've had a fall
- Your helmet is 3 to 5 years or older (depending on the brand)
- Your helmet has any chips or cracks
Helmets should be replaced every 3 to 5 years, depending on what the specific manufacturer recommends. Your helmet’s expiration date can also vary depending on how often you ride and whether you kept it in a climate-controlled space.
Helmets can degrade and break down due to sweat and wear - compromising the helmet’s ability to offer protection. If your helmet has any visible cracks, dents, chips, or has been in an accident, it is time to replace it!
Riding Helmet Styles and Features
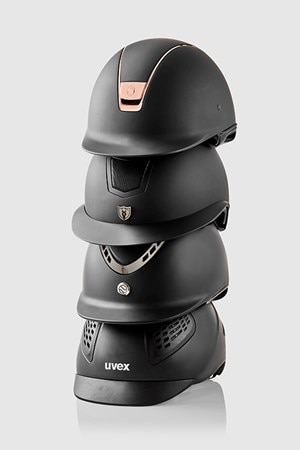
Every helmet has unique styling and features, with many options being developed by manufacturers every year. Helmets come in matte finish, glossy finish as well as velvet – each being appropriate in different riding disciplines and classes. Styles can be trendy in each discipline, such as bling in dressage, wide brims in hunters, and colorful designs in western helmets. Be sure to check if your helmet style will be appropriate for the type of riding you do, and if you plan to show or exhibit your horse while wearing it.
Skull caps (or jockey skulls), seen in cross country events, are designed to not have a fixed peak or brim, and cover more of the rider’s head for safety. These helmets often are worn with added silks or helmet covers, which offer a soft sun brim and stylish pom poms.
Adjustable helmets are not just for kids anymore. Brands are offering helmets that have dials that allow you to tighten or loose the helmet’s fit, helping to further customize your helmet to your head shape. If you ride with your hair up and then sometimes down, these helmets can help your helmet fit properly.
Low profile and lightweight helmets are also on the market, allowing you a helmet that doesn’t give you a “bobble-head” appearance, and still has all the safety features. With advancements in design and materials, manufacturers are offering styles that flatter and protect every rider.
Comfort and Protection
Riding helmets come with a variety of features that help make the helmet more comfortable to wear for the rider. Wider, sun-shielding brims are popular for those needing additional UV protection. If you have a helmet without an extended visor or brim, you can add visors specifically for riding helmets, with a popular one being the EquiVisor.
Additional ventilation and cooling are features to consider as keeping your head protected and cooled in hot weather can be achieved. Helmets with larger ventilation slots help to allow heat and moisture to escape the helmet and keep the rider more comfortable, as opposed to a completely enclosed helmet shell.
MIPS Equestrian Helmets
Multi-Directional Impact Protection System (MIPS), is an internationally recognized safety feature for riding helmets offering additional protection for rotational falls. This feature is in addition to ASTM/SEI certification and is available in many helmet brands and styles.
How Does MIPS Protect Riders?
The MIPS system is designed to help reduce rotational motion that can happen on impact. Concussions and severe brain injuries can be caused by falls when this rotational force is transferred to your head. MIPS provides a low friction layer, usually fitted between the padding and foam protective layer, that moves slightly (10-15mm) inside the helmet. In a fall, the low friction layer helps to redirect forces away from the head and lower the risk of brain injury.
The MIPS system has undergone over 50,000 safety tests and has been shown to provide additional safety in many types of accidents compared to helmets without MIPS. The MIPS system has an extremely minimal weight (only about 25-45 grams) and is engineered into numerous helmets from top brands to protect riders across disciplines. See our selection of MIPS riding helmets here.

Safety Testing for MIPS Riding Helmets
MIPS helmets are tested with two different methods to validate their safety.
- Sliding sledge test – the helmet is dropped onto a sliding sledge to simulate hitting the ground at an angle.
- Vertical drop test against an angled anvil – an updated version of the standard drop test used to certify helmets. In this version, the helmet is dropped onto an angled anvil to simulate hitting the ground at a different angle.
Riding Helmet Shapes and Fit
As all brands of riding helmets that SmartPak carries meet safety standards, next you’ll want to determine your head shape or the general shape of your skull. Head shape is important as some brands fit rounder heads, and some brands fit more oval-shaped heads.
Getting the shape as close to the outline of your skull ensures a better, more snug fit, allowing the helmet to sit properly and offer protection where it should. It is not recommended to add foam wedges or padding not designed specifically by your helmet’s manufacturer to help make a helmet fit better. Doing so can compromise the ability of the helmet to protect your head during a fall. Some manufacturers do offer click-in liners with different thicknesses of padding to help with fit and are specific to their brand of helmet.
For example, GPA is known to rounded fit, whereas Charles Owen helmets are more of an oval fit. While some brands are known to fit a certain shape, it can even vary inside a brand’s offering. Take the Charles Owen Wellington Pro which is rounder, while the AYR8 is more oval. Some brands, like One K, offer both a round and a long oval fit for the same helmet. Knowing the general shape of your head will give you a better fitting helmet.
How Do I Know if My Head Is Oval or Round Shaped?
While you’re sitting down, have a friend either on a stool or step, look down on your head from the top. If they see that you have a rounder head, it will be fairly even front to back and side to side. If your skull is generally longer front to back and more narrow side to side, you most likely have an oval shaped head.
How to Measure for a Riding Helmet
-
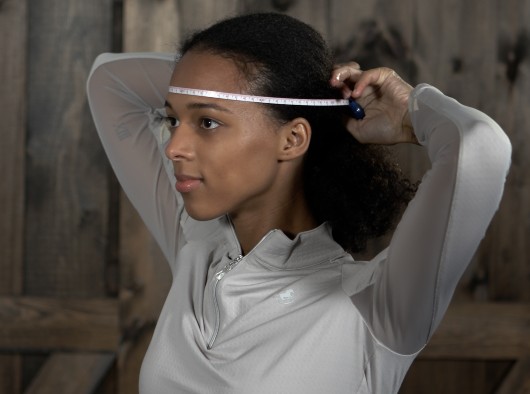
Start with measuring your head. If you don’t have a soft measuring tape, use any kind of string and note the length and then place the string against a measuring stick or hard measuring tape. With the soft measuring tape, place the tape at the widest point of the back of the head, above the top of the ear, and an inch above the eyebrow.
- Once you have your measurement, check the size charts on the helmet’s product page to find the right size. Keep in mind that some brands use inches or centimeters, and some come in Small, Medium and Large. If you find that your measurement is in between sizes, most of the time, sizing up is your best bet. The same size may fit you differently between brands of helmets, so referencing the helmet brands specific sizing charts is recommended.
- Take into consideration if you’ll be riding with your hair up in your helmet or down, as this could affect the size and fit of your helmet. If you school with your hair down, and show with your hair up in your helmet, you may need to consider having a helmet with liners or a dial to have the helmet fit properly – or have two helmets – so that your helmet fits no matter your hairstyle. Depending on the length and thickness of your hair, you may need to size up one increment from your original measurement.
Watch and listen to our video to how to shop and measure for your helmet.
Trying on Your New Riding Helmet
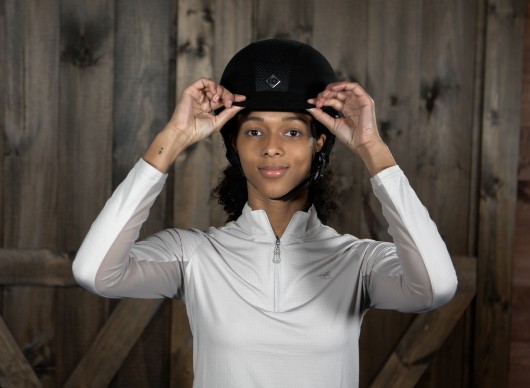
Once you’ve received your helmet, you’ll want the helmet to fit snug when you first put it on, as it will mold its shape to your head over time. We recommend leaving the tags and labels on your new helmet while trying on and only wearing it around the house until you’re sure it’s the right fit, just in case you need to exchange or return it. It isn’t unusual to have to try a few helmet sizes and shapes to find the perfect fit.
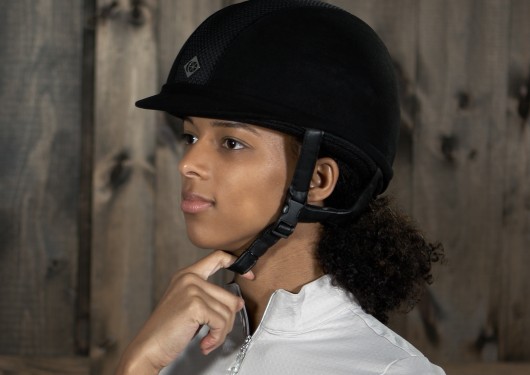
After putting the helmet on, be sure it does not tip forward or shift around – it should sit about a width of one finger above your eyebrows. You can make sure it’s snug enough by moving the front of the helmet up and down. If your eyebrows move with the helmet, then it is snug enough.
To be sure your chin strap is adjusted correctly, you should be able to get 1 finger in between the chin and the strap. For helmets with adjustable straps, the triangle where the straps go around your ear, should sit at or just under the ear lobe. Like many other aspects of helmet fit, the straps on some brands of helmet come forward on your jaw while others fall straight down under the ear, it just can depend on the manufacturer.
Some brands will also have removable liners, that can allow you to mix helmet size and liner size, giving you the ability to further adjust the fit to you. You should also consider purchasing multiple liners, so you can clean and refresh your helmet when needed.
Common Riding Helmet Shape and Fit Issues
Some common signs that your helmet doesn’t fit properly are that it is either too tight or loose on your head. When trying on your helmet, you should note any pressure that is uneven, as it may suggest that your helmet shape doesn’t match your head or skull shape well enough.
Common Helmet Fit Issues & What They Suggest:
- If the helmet fits tightly on your forehead and on the back of your head: You may be an oval shape trying to fit your head into a round shape helmet. Helmets should have even pressure all around your head.
- The helmet feels tight near your temples, above your ears on both sides: You may be a round shape trying to fit your head into an oval shape helmet.
- The helmet feels like it’s perching on your head or looks “too tall”, it could be too small, or it could be too shallow for the depth of your head. If you have a long forehead, you may need a deeper helmet.
- If it’s covering your eyebrows and squishing your ears down, the helmet may be too big or too deep for your head.
If you get a new helmet and it doesn’t fit perfectly, know that you can easily exchange it for free with SmartPak’s free return shipping on sized items. The safest helmet is one that fits, so be sure to evaluate the fit of the helmet, not just its look and style.
Riding Helmet Care and Maintenance Tips
Once you have a helmet, keeping it in good shape and able to offer protection in the event of a fall is important.
- Invest in either a helmet bag or backpack to help protect the outer shell from scratches and marks, as well as help prevent cracks and damage if dropped. If you do drop your helmet, be sure to look for any cracks or damage, as you may need to replace your helmet if it does.
- Try to keep your helmet in a temperature-controlled area whenever possible. This will minimize the chance of the materials expanding or shrinking, which can lead to cracking and helmet shape changes. After a ride on a hot day or cold day, avoid quickly cooling down or heating your helmet (putting your helmet quickly into your AC'ed/heated car). Try to remove any sweat or moisture by either removing your helmet liner or absorbing any moisture you can with a towel or air drying.
- The foam padding in helmets can compact over time, especially if the helmet is exposed to heavy amounts of sweat and extended daily wear. Reassess helmet fit periodically and plan to replace your helmet if the fit changes.
How Do I Clean and Deodorize My Helmet?
Helmets often have soft interior materials that absorb, and trap sweat and moisture, as well as offer a better fit. Helmets with removable liners allow you to wash and refresh your helmet, keeping your helmet cleaner and maintaining its fit. Helmets should never be placed in a dishwasher or other mechanical cleaning device as this can degrade the materials.
If you have a helmet that doesn’t have a removable liner, spray cleaners and deodorizers are available to help maintain your helmet. Over time, sweat and wear will compress and degrade foam padding in helmets. Oftentimes these pieces are not removable or replaceable. This compromises the fit and protection and is a reason to replace these types of helmets every couple of years.
How to Fit Riding Helmets for Young Riders, Kids, and Toddlers
A properly fitting riding helmet should fit your child or young rider’s current head size, not what the youth will end up being in the future. If you are concerned about the need to replace the helmet due to it not fitting, helmets for kids often have adjustable dials, allowing the helmet to be adjusted and “grow” with them safely.
Bicycle helmets, or any non-riding specific helmets, are not recommended as they don’t offer the specific protection recommended for horseback riding related accidents.
Tips for Fitting Helmets on Younger Riders
Many younger riders may not be used to the pressure of a helmet and may become distracted by things like color or design when purchasing a helmet. If a child doesn’t like a helmet without being able to explain why, try to give them a chance to wear it for a period of time (while watching TV or eating snacks might work well.) This will (hopefully!) allow them to get used to the helmet, and then you’ll be able to see if it does fit them correctly.
If they are finding it tolerable after 15 to 20 minutes, check the fit again, focusing on three things:
- Ask them: “Does it feel like a gentle hug all around your head, or is the hug pinching somewhere?”
- Can you make their eyebrows dance up and down when you wiggle the brim?
- If you pull up on the helmet like you are taking it off (without the chinstrap attached) does it feel like there is some suction/pressure as you pull it off?
If these are all positive, you should have a good fit! Browse our selection of youth and young children’s helmets here.
Finding the right helmet can be a big step in your overall safety and comfort in the saddle. When in doubt, we always recommend calling and speaking directly to our Product Specialist Team at 1-800-461-8898 and utilizing our Free Return Shipping for all sized items to help ensure you get the best fit and style for the riding you’re doing! Don’t forget to keep an eye out for annual Safety Awareness Week deals. When it comes to your safety in the saddle or around the barn, the investment is always worth it!
Top Brands
 Shop One K
 Shop SamShield
 Shop Charles Owen
 Shop Trauma Void
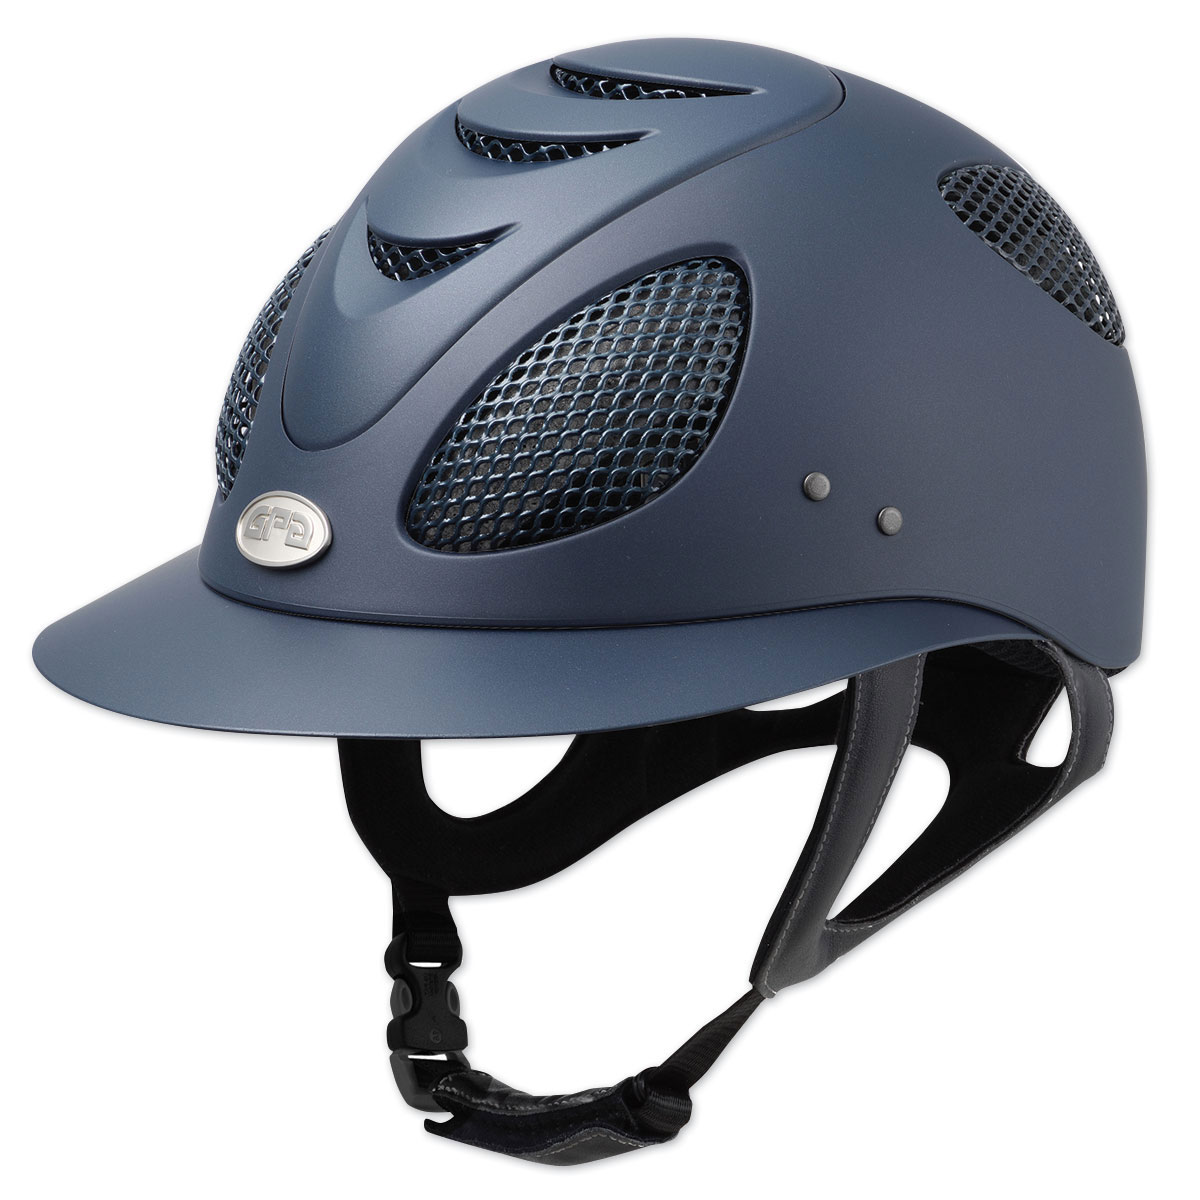 Shop GPA
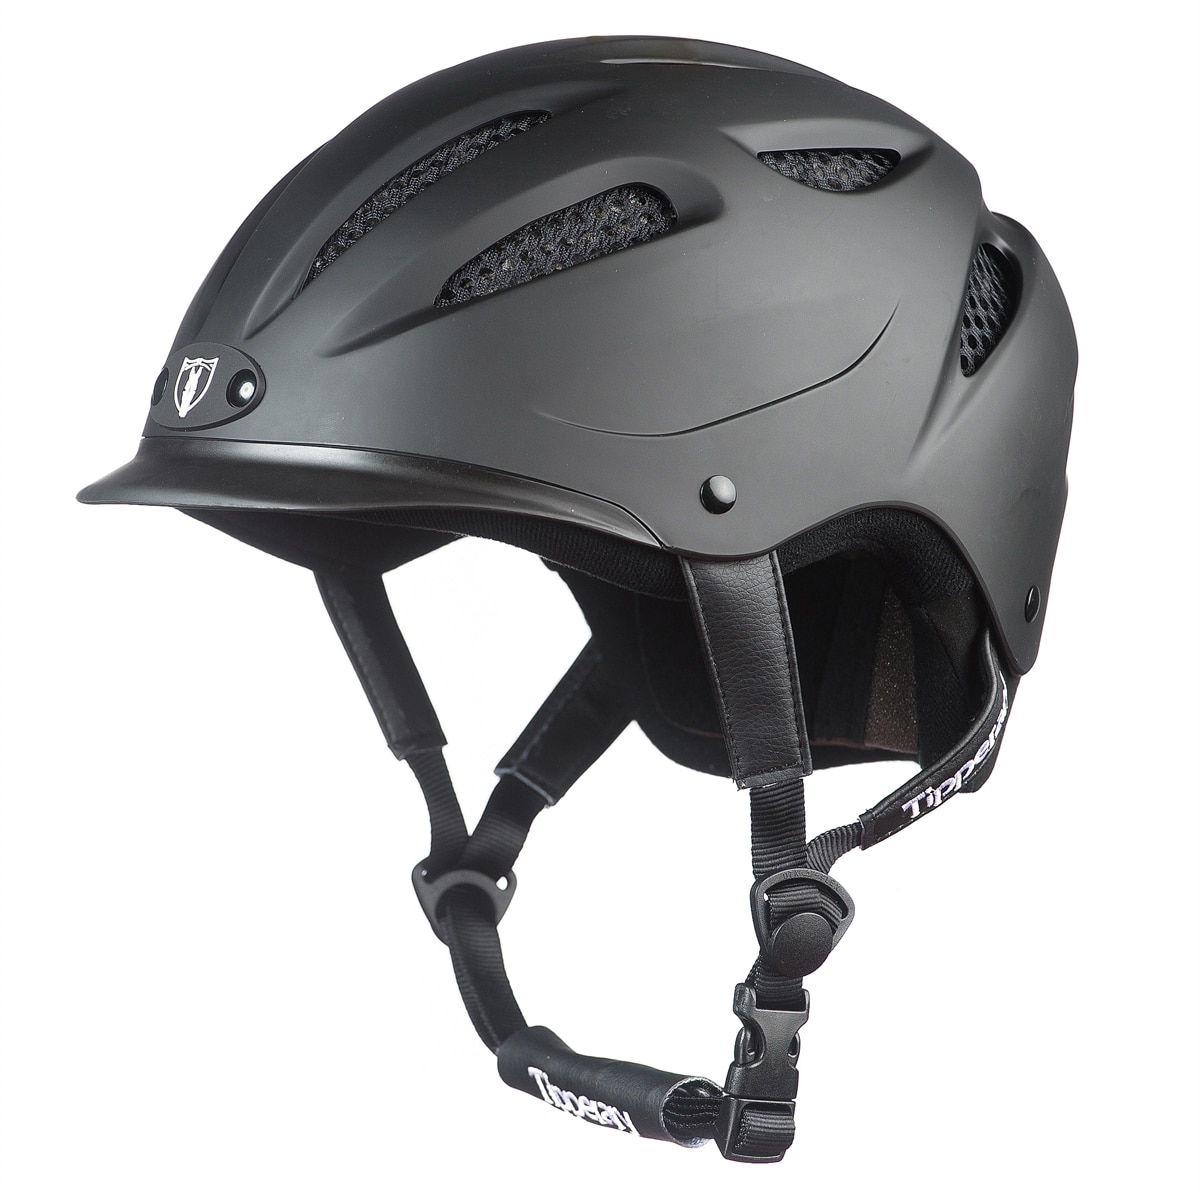 Shop Tipperary
Shop all equestrian helmets suitable for English and Western riders.